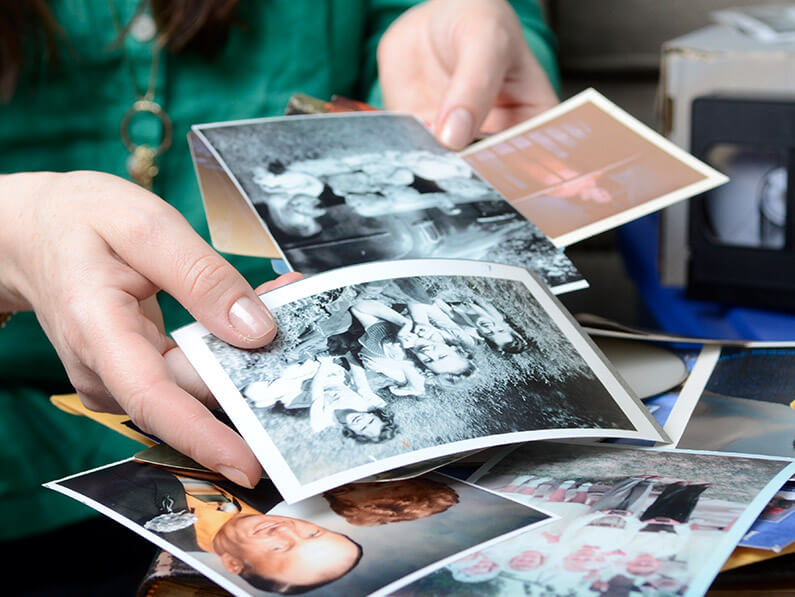
STEP 1: SORT Take pictures out of albums, frames and boxes so you are working with only loose prints. Choose the photos you want to keep. Remove duplicates and poor-quality shots. Keep only the most meaningful images and toss the rest if you are working to downsize or eliminate clutter. At this point, you could stop and move on to Step #3.
STEP 2: ORGANIZE If you want to get your photo collection truly organized, then continue sorting. Separate pictures into piles by subject, people, theme or year. Whatever makes most sense to you. Then, label those piles in chronological order. This will pay off when you move on to Step #4 and eventually share copies of your images with family members. Advanced sorting will make specific photos easy to locate on a computer or device later on.
STEP 3: DIGITIZE Box up your printed memorabilia and bring them to a trusted local photo preservation expert (like us!) for scanning. The key word here is “local”. We never recommend shipping your most precious possessions across the country! Each print will be professionally digitized and saved as high-resolution JPG files. We can even create labeled folders to keep your sorting efforts intact. Your newly digitized images will then be safely saved to a media device of your choice, a cloud storage location and/or to any other location that you request.
STEP 4: COPY + SHARE At this stage, you’ll have various options for what to do with your digital image files – including how many copies to share. This is the fun part! Think about who would like a set of the scanned images – even if they may not completely appreciate them today. (IE: children and teens.) Once the images are scanned, duplicate media copies are extremely affordable – so be generous and share freely!