How many times have you gone looking for that one special photo or image for a school project or upcoming family event? You don’t want to lose your only printed copy of that image by sending it to school with your child, but without a back up digital copy, you may have to take the risk!
There are many benefits to digitize physical photographs and home movies – and once they’re in a digital format, it’s so much easier to manage, share and access them from just about anywhere.
- Storing a digital version of your memories takes far less physical space in your home.
- Digitally archived images are easily searchable in through file naming, tags and facial recognition.
- Each and every family member should have their very own digital copy of the files.
- Access the digital files that are stored on a cloud service from anywhere in the world.
- Easily post digital images to social media, share via email and text.
- Take comfort knowing physical printed photos are safe from dangers like fire, flood or theft.
Gather the files!
First, locate any random media cards, CDs, DVDs, thumb drives and images sitting on home computers. Work to get them all in once place and eventually upload them to a trusted cloud storage service, where they’ll join ALL of your family photo and video files.
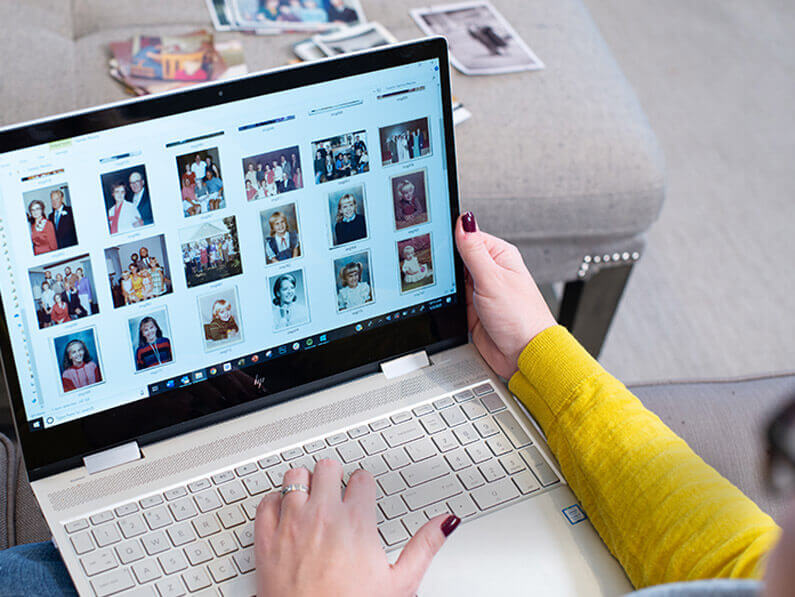
Digitize the printed items.
Have all analog or printed memorabilia professionally scanned or digitized. Once that happens, these files can also join your master cloud photo account.
Create a sorting structure.
Use file folders to establish a method for categorizing your memories. Common sorting techniques are by person/subject, by year or by event, however it’s important to use a structure that makes the most sense to you. Create sub folders within your main folders for additional layers of organization.
Once you have folders in place, begin moving files to the appropriate folder locations. Depending on the volume of images you’re working with, this step could take a significant amount of time. Try to work on your photo management strategy for a few minutes each day.
Continue the process.
Once the initial work of setting up your digital photo management is complete, the rest is really just maintenance. As you capture new images/videos, sort them and store them in your newly organized collection. Continue this practice until it becomes habit. Trust us, you’ll be so glad you did this!
PRO TIP: Don’t rely on a single digital copy of your files. Make a duplicate back up set of files and store them in a different location. This will help protect your memories in the event of a server failure or other technical glitch.